Sunday, April 24, 2011

Indigo Vat Dyeing with Middle School Students


Few things are as exciting to middle school students as watching their lime green cotton cloth magically transform into deep indigo blue!  At the beginning of this project, my Art 2 students at Oakville Middle School watched three videos about dyeing in an indigo vat.

One video shows traditional indigo dyeing in Africa - http://www.youtube.com/watch?v=pG1zd3b7q34
One video shows dyeing at Cornell University - http://www.youtube.com/watch?v=7z6B7ismg3k
And the third shows clamp resist dyeing with children -

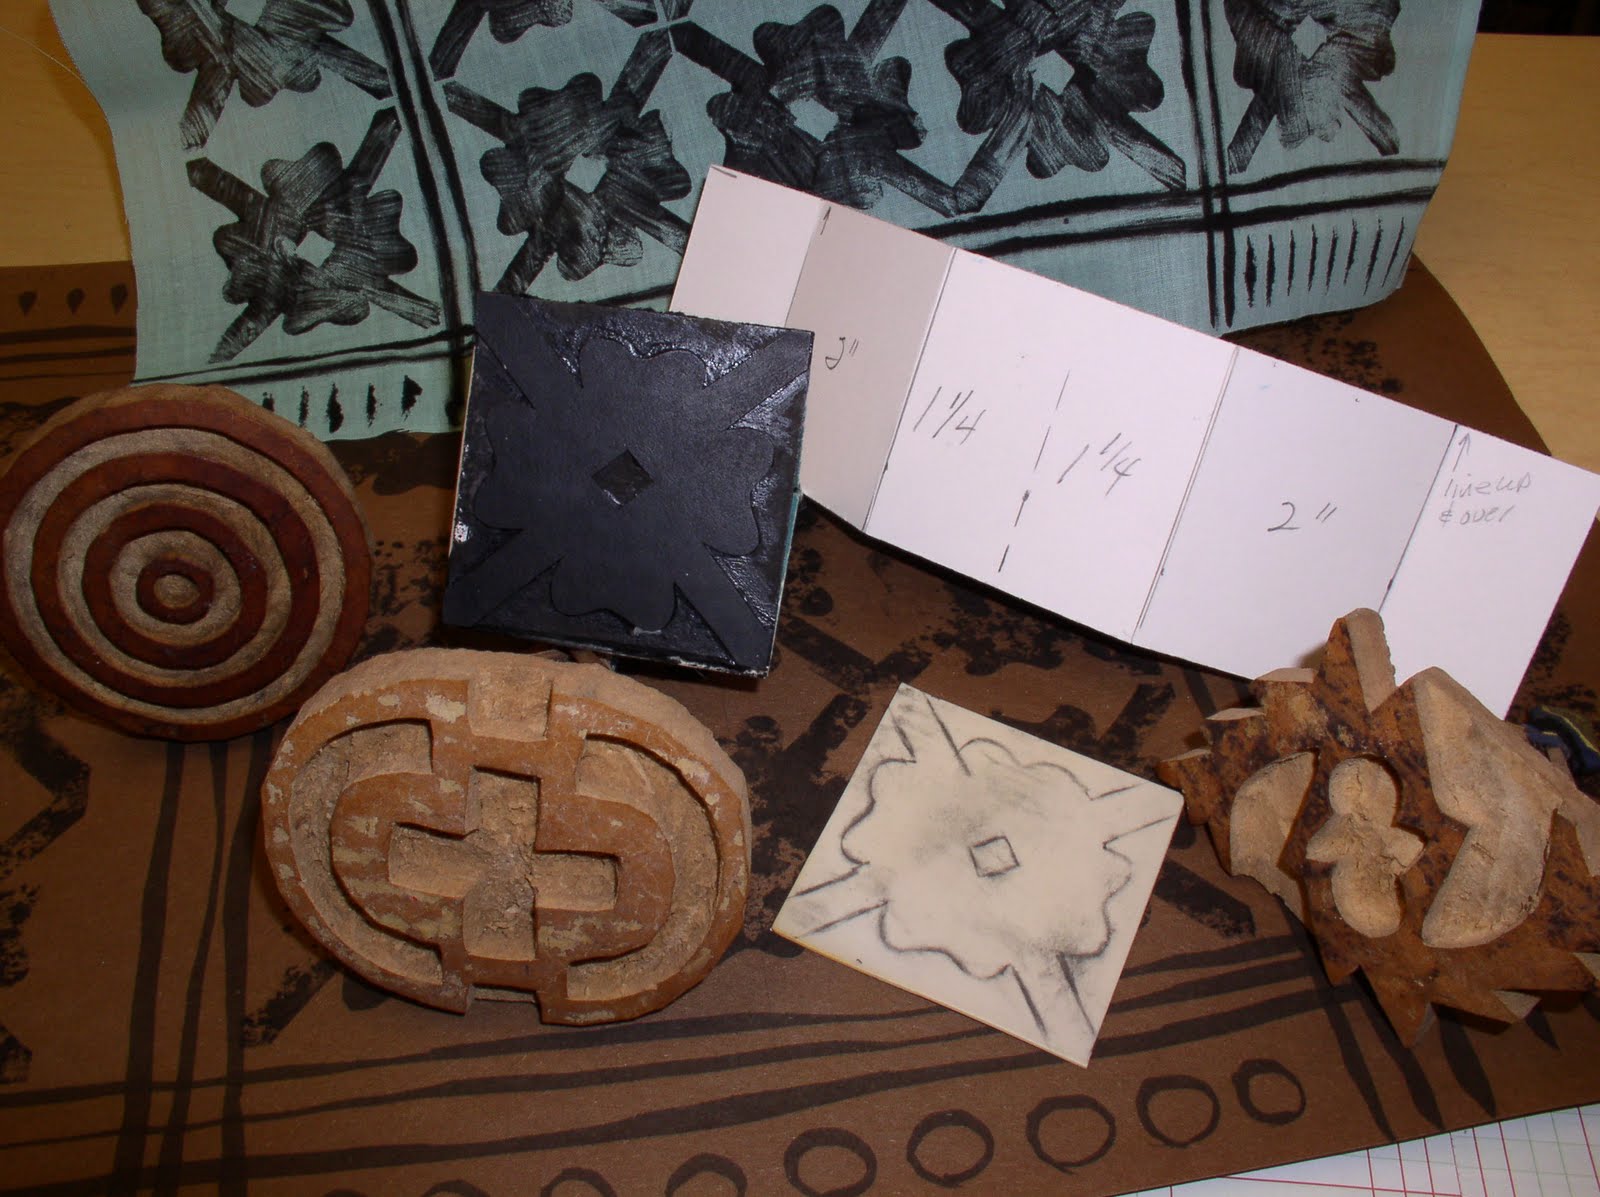
Students were given the options of stitch resist, clamp resist, bondini knot resist with string and/or plastic wrap, and rubber band resist.

Once the resist designs were in place, the cotton cloth was soaked in water for 10 minutes.


A synthetic indigo vat whad been set up in one corner of the classroom.


Wearing gloves to protect their hands from the dye, the students slowly lowered their cloth into the dye vat and counted to 120 before carefully raising the cloth to the surface.

The cloth was carefully squeezed below the surface, careful not to cause bubbles or drips that would add oxygen into the vat. In one quick motion, the cloth was moved over over a stainless steel pot to collect the drips. The collected liquid would later be reheated and reused.

As the oxygen from the air attached and bonded to the indigo, the cloth turned from green to blue. 

The more times the cloth is dyed, the darker the blue. Since the oxidation process takes about 15 minutes, the students rotated between dyeing their cloth and researching the history of indigo and slavery.  One of the articles they read was
"Slavery in America and the Devil's Blue Dye," http://www.slaveryinamerica.org/history/hs_es_indigo.htm

Once the cloth was the desired value of blue, the students removed all of the resist thread, wraps and rubber bands before washing out the residual dye. Since the indigo was no longer oxydizing, the blue did not dye the students' hands. Any student with sensitive skin had the option of wearing gloves or asking another student to help rinse.


Students were given the option of making a pillow case or a t-shirt for the grade. They also had the option of dyeing cotton socks and pieces of cloth for other projects.

Last year one student chose to piece a quilt for his mother from one of his grandmother's sheets.

Students were assessed on their written responses to the history of indigo in Africa, their overall resist design, their effort during the project and their responsibility in the art classroom.

Adinkra Symbols and Aba House in Ghana Inspire Middle School Students


Adinkra Symbols 

For one segment of our handmade paper project, the Art 2 8th grade students at Oakville Middle School learned about Adinkra symbols and handmade paper as part of a cultural exchange of creative ideas at the Aba House in the suburb of Accra, Ghana through the Collaborative Exchange Website. Here's a video of the Aba House children making paper from sugar cane at http://www.culturalcollaborative.org/videos.htm.
A quote from their website: "Cross Cultural Collaborative, Inc. is a non-profit educational organization that promotes cultural exchange and understanding. Our programs emphasize multigenerational and multicultural collaborations encouraging participants to find rewards in different forms of creativity. We bring artists from different cultures together in a supportive environment where they can get to know each other through the language of art. At the core of our program is the belief that interaction between African and non-African artists enriches the creativity of both groups."

After researching the history of Adinkra and how Adinkra stamps are carved from gourds, the Art 2 students each designed their own personal symbol and created a stamp with adhesive backed easy-cut and mat board.


The students tested printing a variety of colors and patterns with their personal symbols.

When the students were not working on their Adinkra stamps, or making handmade paper, they were each designing a book focusing on their personal interests, beliefs, etc.


Each book was folded and cut from a single sheet of white paper. The students glued their stamped handmade paper to the front and back covers.


Besides the homework research assignment on the history of Adinkra, students were assessed on: their Adinkra symbol design and craftsmanship of printing; the continuity of their idea or theme, craftsmanship and effort for their handmade book; the number of handmade paper pieces (at least 5); and their responsibility in the art studio classroom.


Thursday, April 21, 2011

Handmade Paper with Middle School Students (Part 2)

Pulling sheets of corn and abaca fiber pulp with a mould and deckle

In my classroom, the 8th grade Art 2 students at Oakville Middle School each made five or more pieces of handmade paper from the corn, abaca and cotton fiber they helped process.  When they weren't making paper at one of the four workstations, they were designing the pages for their own handmade book.

 Multiple workstations set up with pigmented abaca and cotton pulp

 Moving a freshly couched sheet of pigmented abaca and cotton paper onto second tray to be sponged

Sponging excess water through a layer of pelon "felt"

Rolling the damp paper flat with rolling pin (bottom) and couching a sheet of paper (top right)

Removing the top pellon "felt" (bottom) before moving paper to the window to dry

HMP drying on classroom window overnight with students' nametags on each sheet

Students experimenting with colored pulp

More experimenting with colored pulp


Saturday, April 2, 2011

Handmade Paper from Corn Fiber with Middle School Students

My Art 2 8th grade students at Oakville Middle School are currently learning the process of making handmade paper from plants. Although my school is located in the suburbs south of St. Louis, I live almost an hour away, northeast of St. Louis at the edge of the Illinois prairie. Corn leaves and husks, collected from the field across the lane from my home garden, were cut into small pieces by the students, soaked overnight and cooked in sodium carbonate in the classroom.

When the corn pieces were cooked until the fibers pulled apart, the pot was cooled. The fiber was rinsed until the lignen was removed from the fibrous cellulose.


Since we do not have a hollander beater at school, the cooked fiber was processed (macerated into individual fibers) in my Mark Lander "Critter" at my home studio and returned to school the next day. I did add some cotton and abaca to the corn fiber in the beater so the pulp would drain slower when making sheets of paper.

When teaching adults, I add formation aid (added to water in vat of pulp to raise the viscosity and slow drain time when pulling sheet of paper) and sizing (added to water in vat so dry paper may be painted on with a wet medium later) to the vat, but the sizing caused a rash on the hands of one student a few years ago. Now, I include formation aid and sizing only on the vocabulary study guide for my middle schoolers.


Since the students will be using colored pulp in addition to the corn pulp, they soaked and beat up cotton and abaca linters with a wiz mixer in the classroom. Everyone had the opportunity to take a turn.


Pigment and a retention agent was added to color the pulp for papermaking next week.  Besides experiencing the process, the students will also be expected to learn and understand the vocabulary, basic chemistry and history of papermaking.  Students will be assessed for this project through observation, group/individual discussion, a reading/research written response, a written vocabulary quiz, and the final development and creation of their artwork.